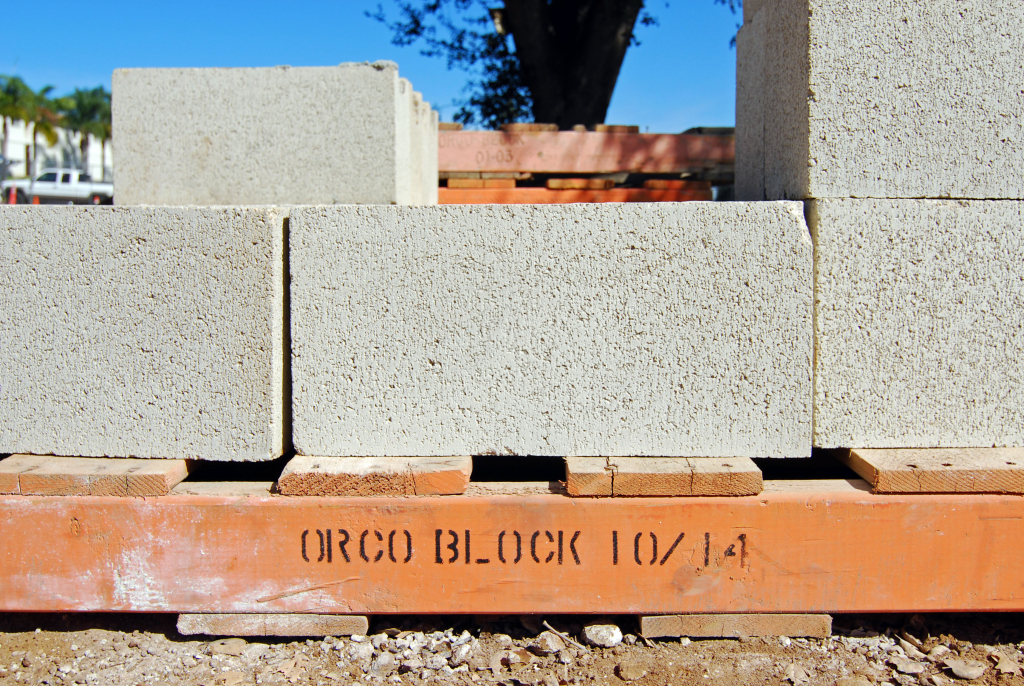
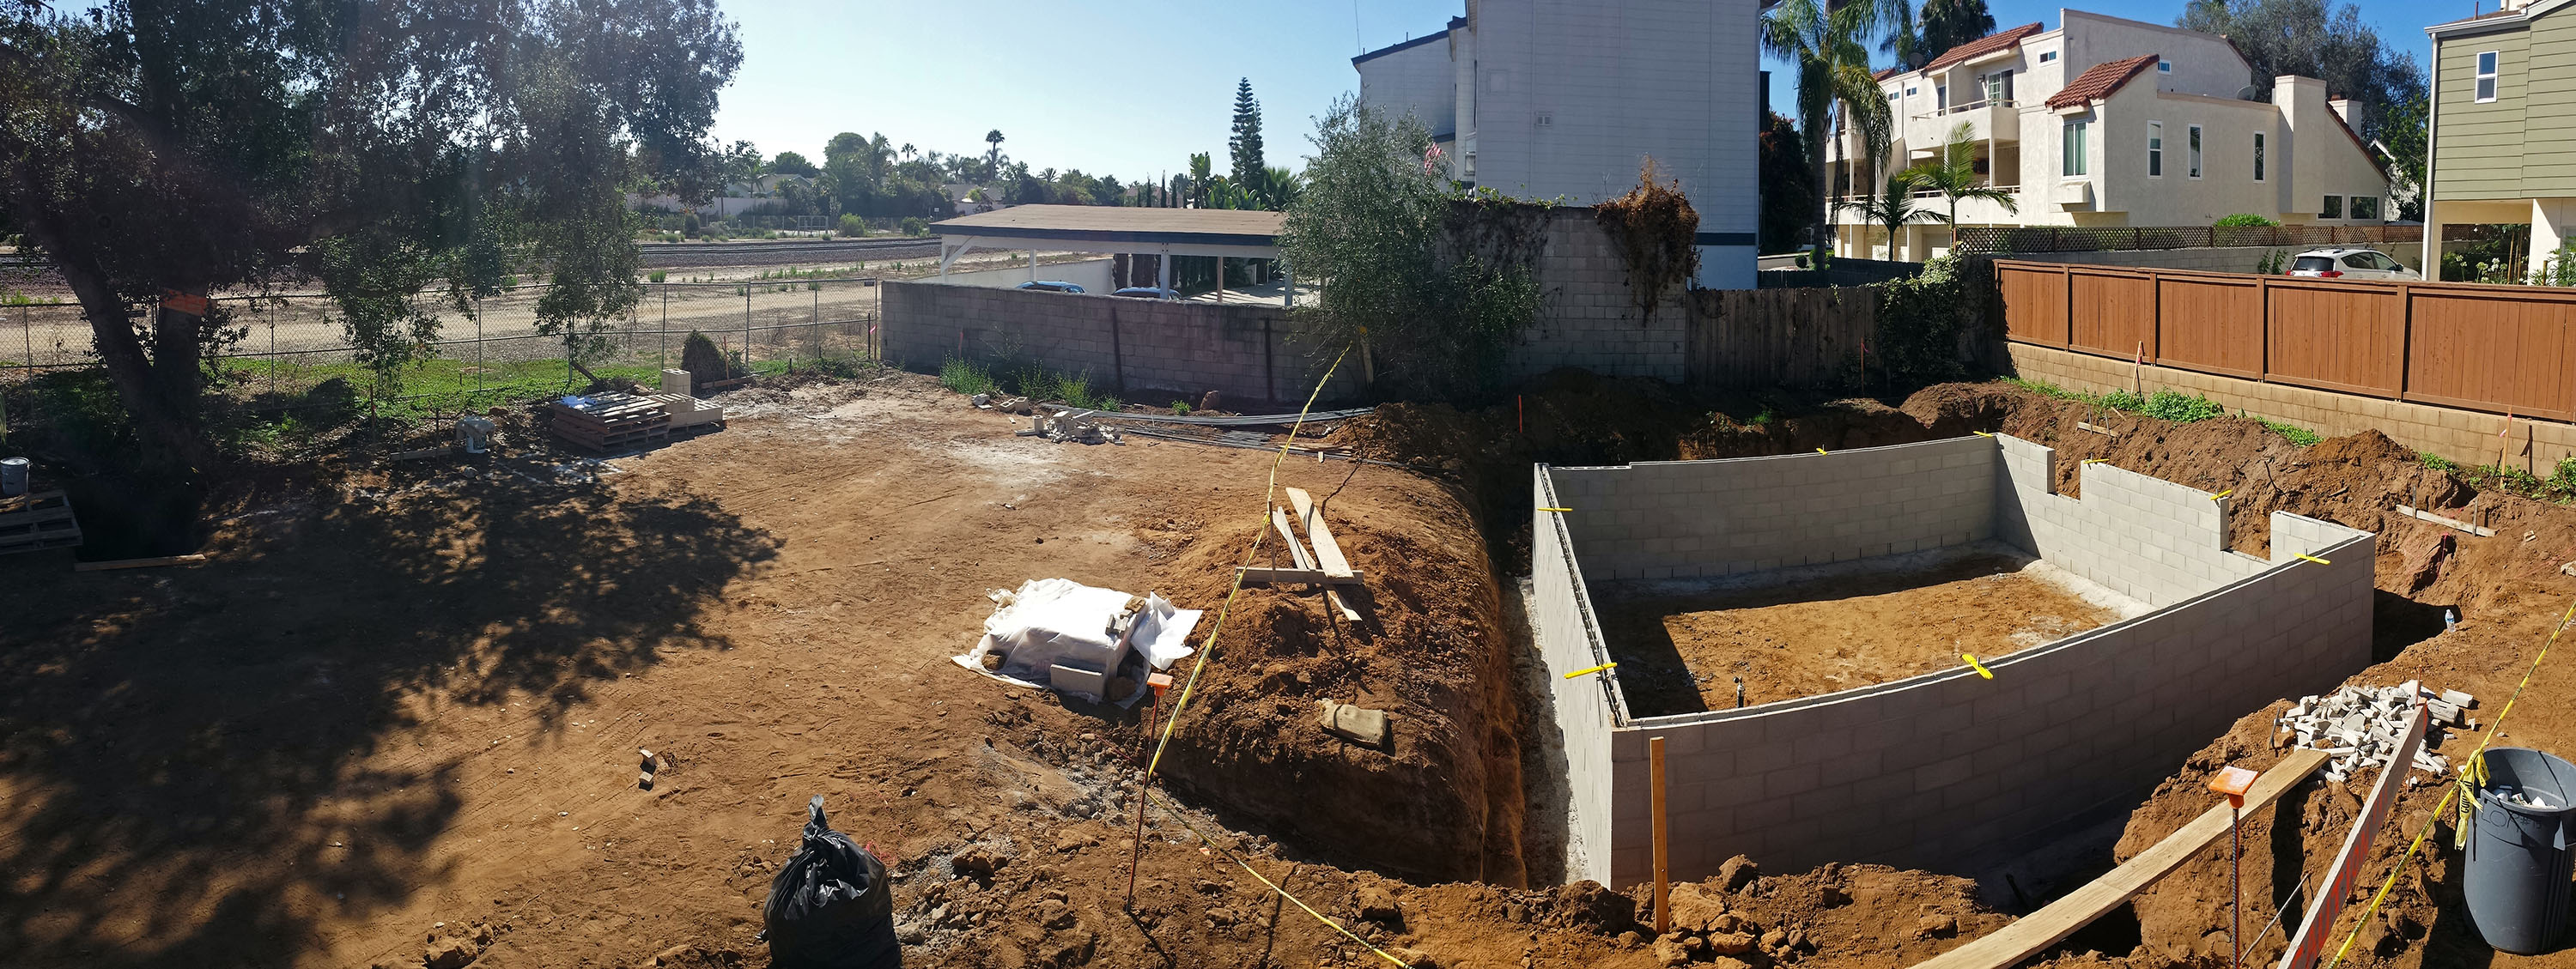
Our basement is about 4′ below grade which means the lower half of the walls will be constructed of something other than wood. I’m a sucker for board formed concrete, but CMU (concrete masonry units) or “block construction” is much cheaper, so that’s the route we took. I actually like block construction — it’s essentially Legos for adults. It’s not as flexible as wood framing, but, just like Legos, if your design takes into account the module of the block it can be an efficient and even satisfying construction method.
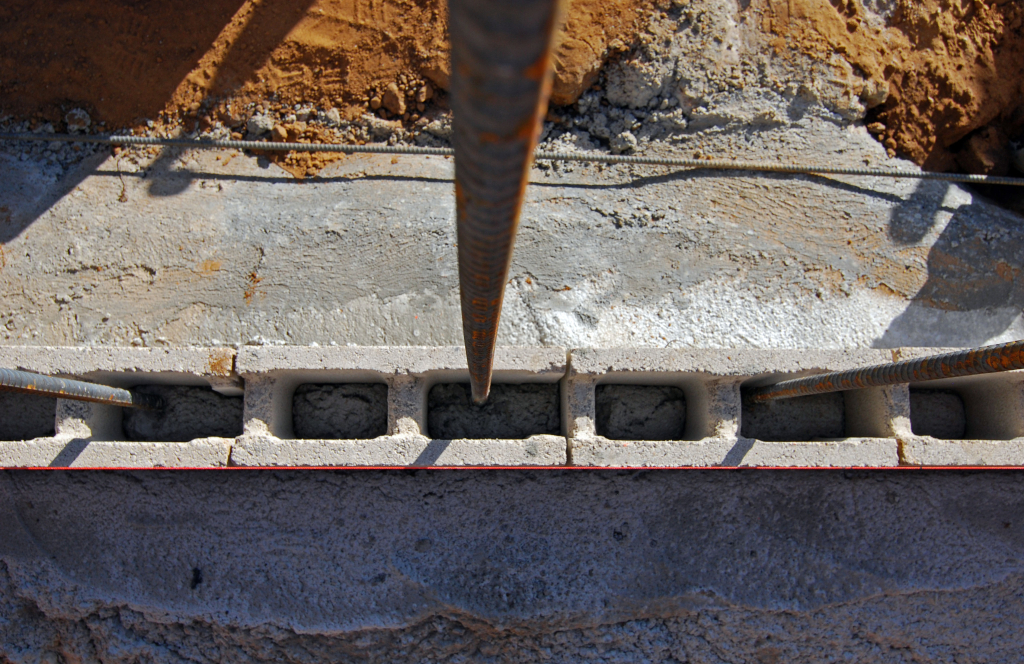
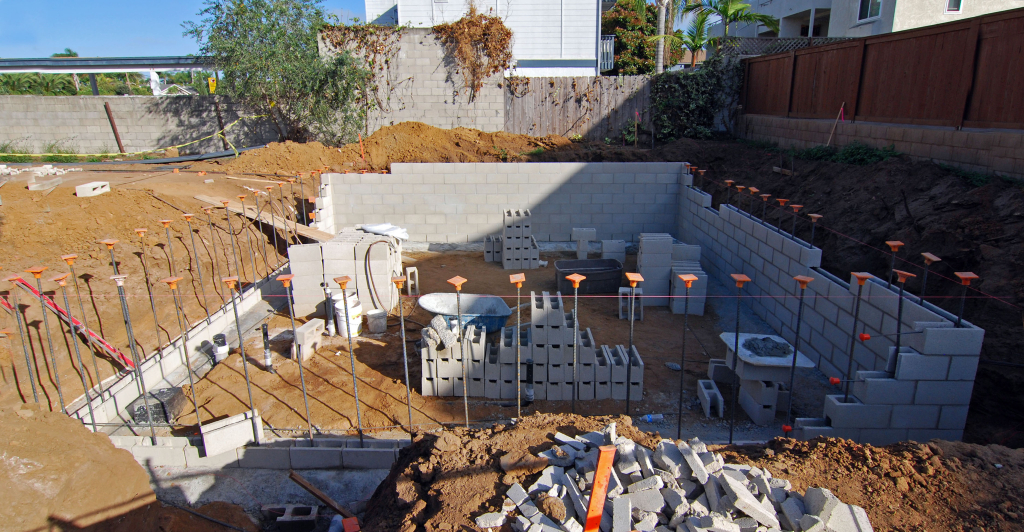
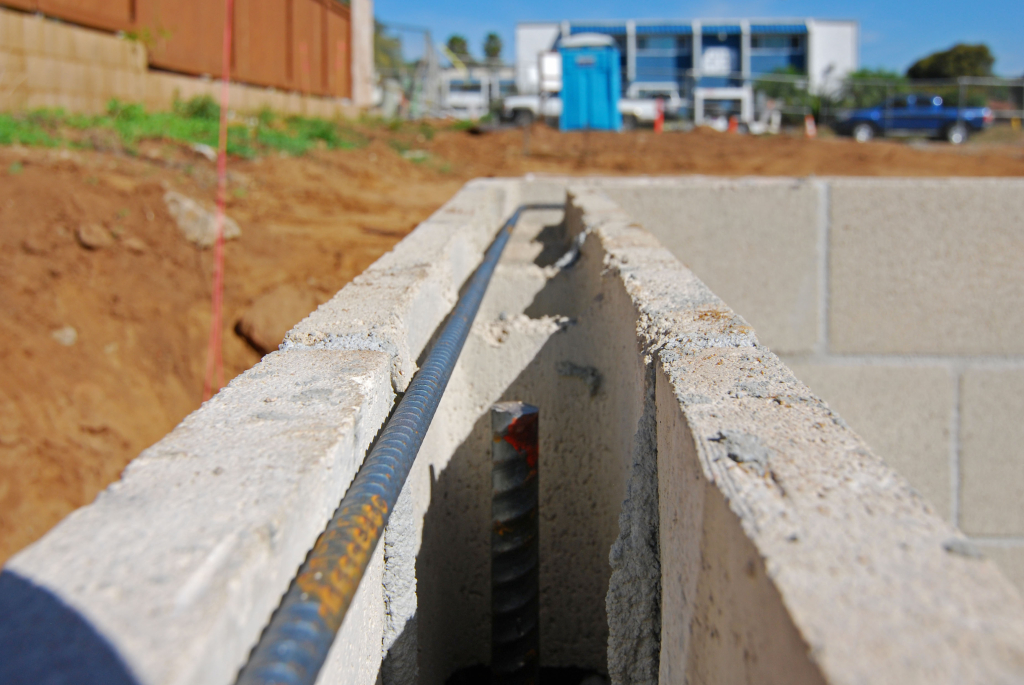
Here’s the footing at the half-basement. The first course of block is laid at the same time the concrete is poured for the footing, thereby establishing face of the wall. It is critical to locate this correctly the first time since there’s no moving it once it is set. Note the orange string at the outside edge of the wall in the photo below.
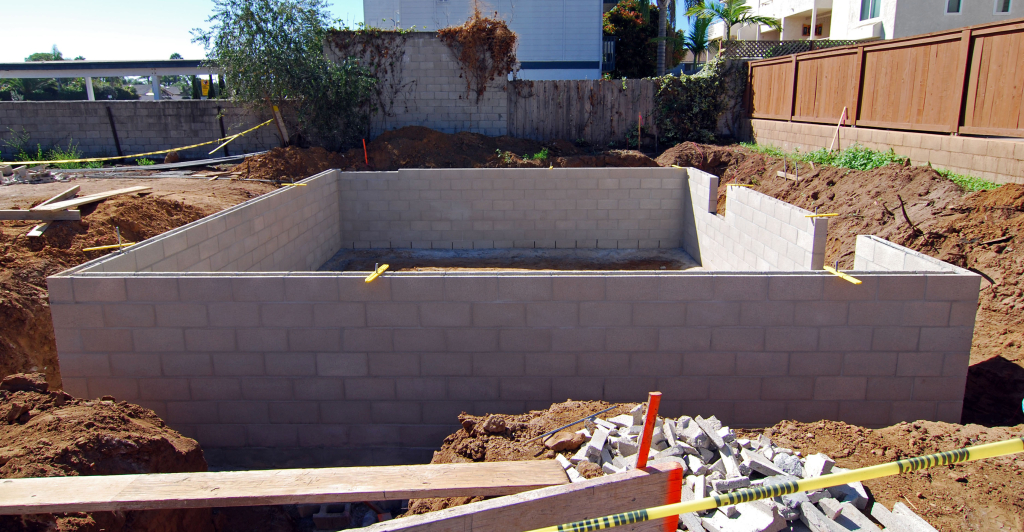
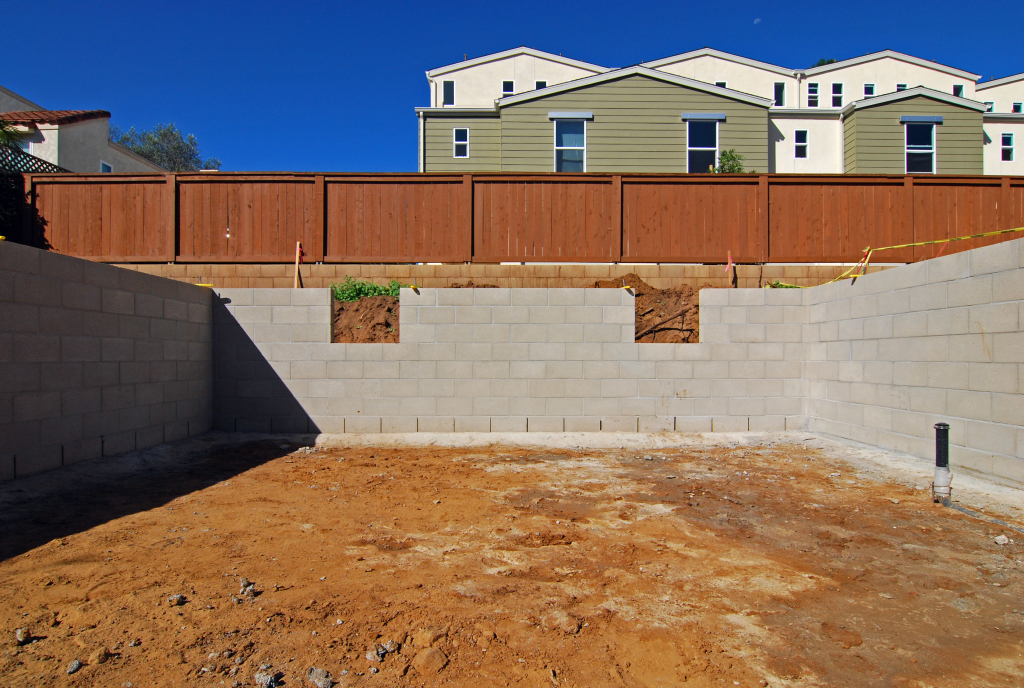
Thankfully our mason was dialed in and the walls went up without a hitch.
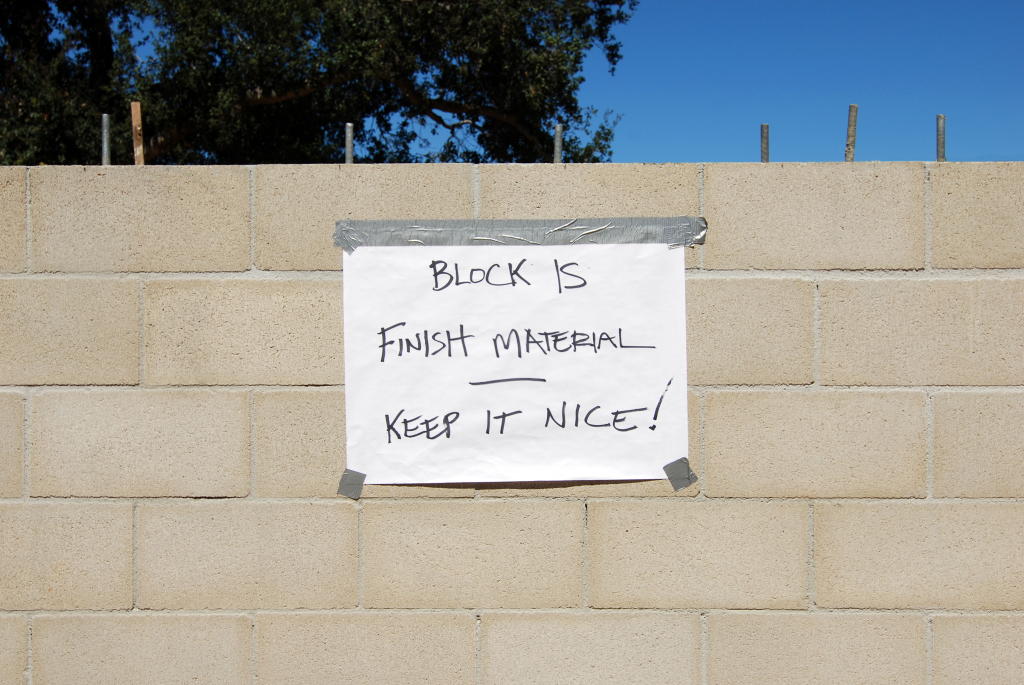
We will be leaving the block exposed on the interior side of the walls. I was considering sandblasting for a slightly more finished look, but given the clean assembly we’ll be putting that money elsewhere and just go with the finish as is. The walls will need to be protected throughout the rest of the construction process. Our contractor is aware of this will take the steps necessary to do so, but a little extra reminder for the subs on site can’t hurt.
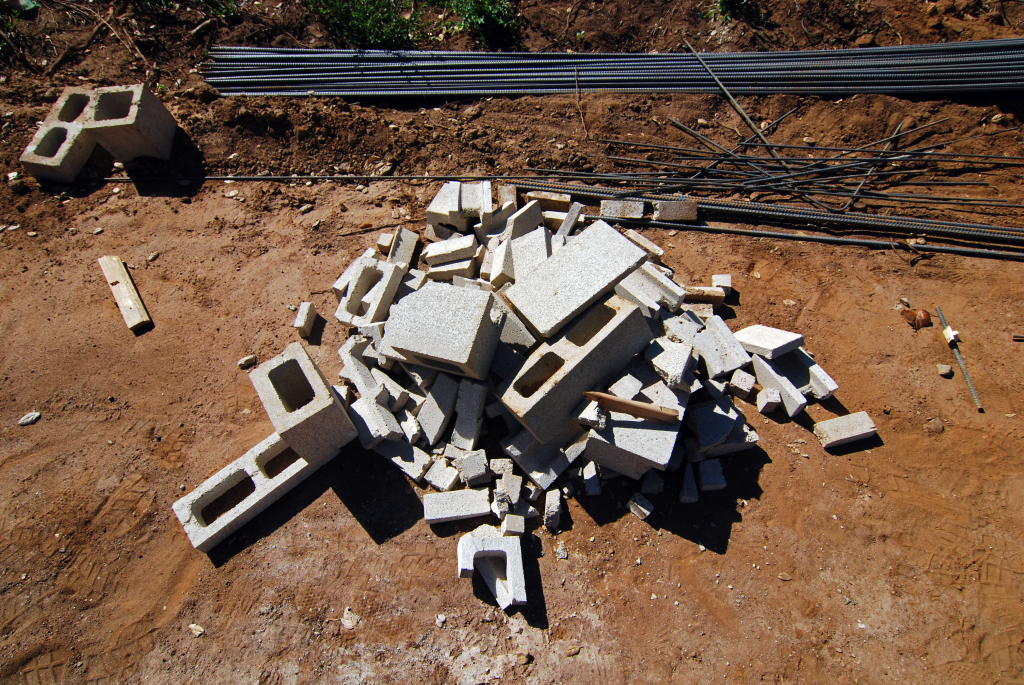
A few leftovers from the construction process. Currently brainstorming if there’s a viable landscaping use for the “waste” that will otherwise head to the landfill.
What are you using for dimension control? Are you doing the final checks before the concrete goes in? Love the high quality photos!
Our surveyor gave us critical points defining the building corners. These stakes remain in place until, at minimum, the major structural elements defining the building perimeter is in place. I didn’t mention it in the previous post, but there is actually a smaller stake with a much more precise location at the base of each of the “locator” stakes.